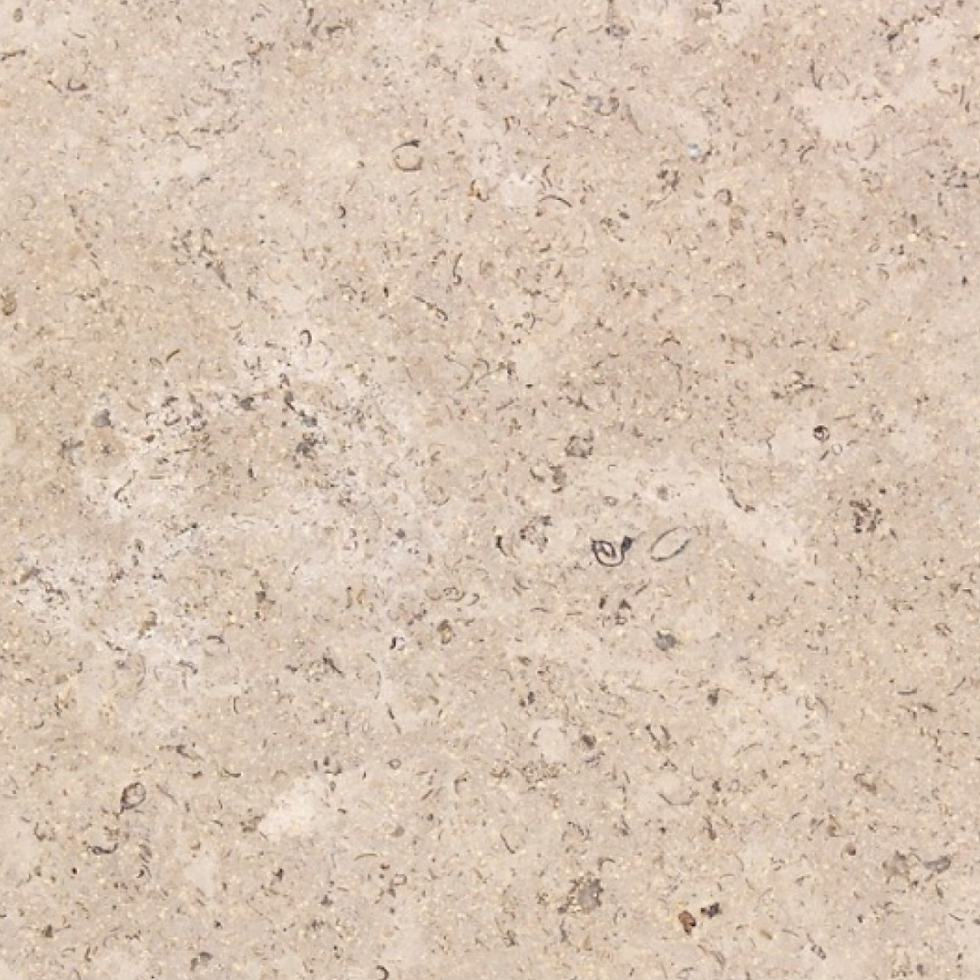
LAMBELLE ANTICO is our most sought after natural stone. This hard wearing limestone is honed and tumbled then acid washed to create a safe slip tested top. Warm beige shade with natural blue/grey fossils and pearls pertruding through the face. Natural veining, occasional pitting, small chips on the edges and mottled colour variations enhance the natural beauty of this luxurious stone. This gives the stone immense character for both traditional and contemporary garden projects.
Tiles: 200x50x40 Provenance: Egypt Slip Rating: R11 Steps: Matching steps in stock with various edge detailing options. Bespoke: Free-form shaped copings & bespoke work priced on application, with ability to create, downstand copings, pencil roll, half bullnose and various coping sizes within a 900x600 dimension.
Lambelle Tumbled Pavers
Our Natural Promise -
We have an extensive range of natural stone, from smooth, riven, sanblasted and acid etched, our collection will offer unbeatable prices and quality not found anywhere in the UK. Natural stone is the 'go-to' selection for many, with some hardwearing limestones and sandstones to choose from, all very different to the next, be sure to talk with our team about longevity, maintenance and sealant when purchasing natural stone. From Britain, India, Egypt and China we ethically source our stone ensuring only the fairest conditions are met in line with the ethical trade policy.
For any assistance please use the LETS CHAT icon on the bottom right of your screen and our helpful team will connent with you, alternatively you call email info@basepaving.co.uk or call 01235 642700.
How do I lay Natural Stone?
See our expert advice below
1. Prepare the site - Dig out the area to be paved, ensuring adequate fall is allowed for drainage away from any abutting buildings, to ensure water does not stand on paved area after rain. A fall of about 1:100 should suit most situations.
2. Lay the sub base - When using our recommended jointing compound, it is imperative that a firm, but FREE DRAINING sub base is prepared before laying slabs.
This should be 75-100mm of Type 1 Sub Base
We recommend that to cover an area with 75mm depth of sub base you will need 1 tonne of material for every 9 sqm. Once laid , compress the sub base into position using a plate-wacker, ensuring a good firm surface is achieved. Failure to do so will result in trapped water underneath the patio resulting in cracking and subsidence.
3. Some paving should be sealed before laying - Very pale paving, particularly our products such as Ivory mint, cotswold buff sandstone and York stone benefits from being sealed before the paving is laid.
4. Which way up? When laying our stone you will notice that there is a graded tapered edge, making one surface larger than the other. For a more uniform surface, it is recommended that these slabs should be laid with the more even, larger surface uppermost. When using our Sawn Paving, the edges are straight, but the underside is calibrated making it obvious which way is meant to be uppermost.
5. How to lay the paving slabs - We recommend slabs be laid on a full bed of wet mortar as this enables you to adjust individual slabs allowing for any variations in thickness. We recommend wet mortar is made using mixed soft sand – a 50/50 mix of soft and sharp sand, and cement at a ratio of 5:1 with adequate water to create a firm but wet rather than damp mortar. We advise using this particular sand mix to create the ideal medium for your natural stone slabs to be laid on. We advise this as 100% soft sand, used by some builders, can create problems, as the wet mix doesn’t have the strength to support the pavers whilst wet.
6. Tamping natural stone slabs into position - After placement of paving slabs onto the wet mortar bed, they should be tamped into position using a rubber mallet, tapping firmly on each corner whilst checking the level in each direction as you go. The wet mortar is quite forgiving at this stage, and this helps the placement of the slabs in the perfect position. If you are laying very light coloured paving, it is advisable to use a white rubber mallet to avoid unnecessary marking.
7. Jointing gaps between laid paving slabs - As you position slabs, leave pointing gaps of 10-15mm between each slab. The graded edge becomes an important part of the final strength of the structure. As the mortar sets around the slab.With Sawn Paving it is possible to reduce the pointing gap to 3-5mm.
For laying patterns or inspiration talk with our team today!

